Kart To Formula Setups Tier List
SPEED vs GRIP rankings by track archetype — from Amateur cups to formula Showdowns.
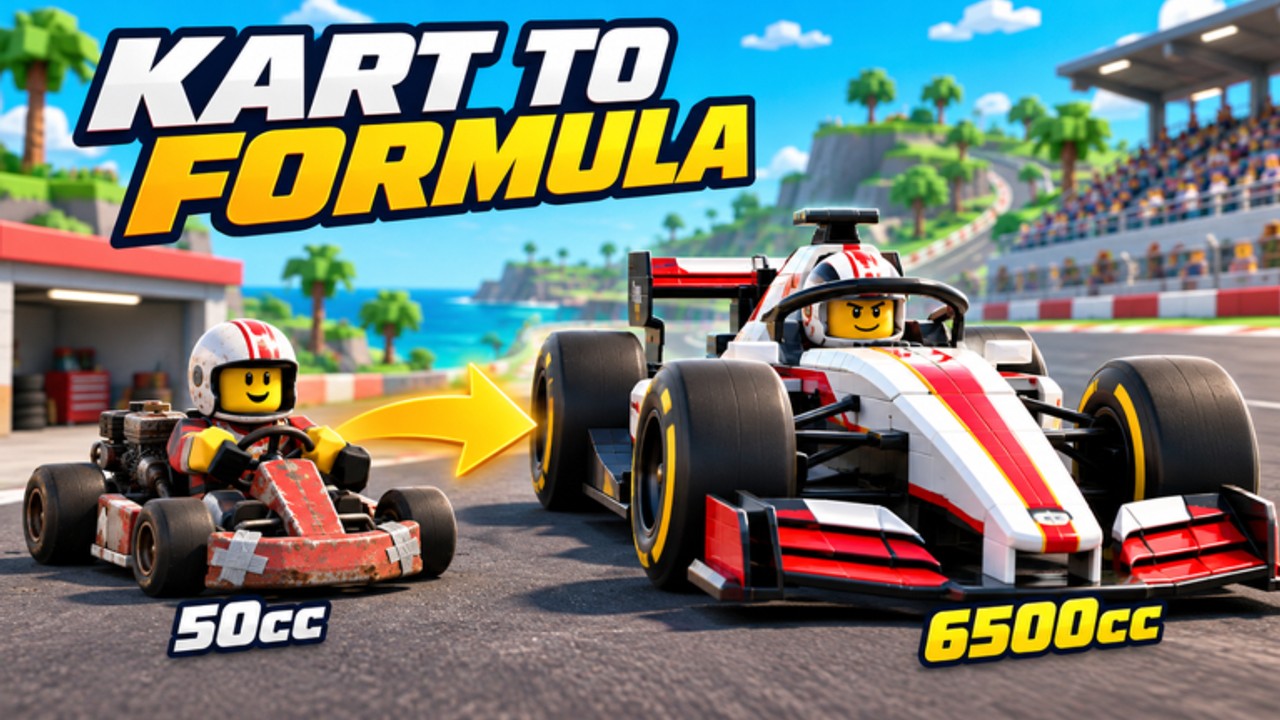
Every Kart To Formula lobby secretly asks the same garage question: SPEED or GRIP? This setups tier list ranks those philosophies by track archetype and explains how to pair them with engine, turbo, tyres, and nitro. It complements the interactive checklist on SPEED vs GRIP and the car-focused classes tier list. Read Upgrades before you spend, and Racing Techniques so the setup matches your hands.
Quick definitions
- SPEED — Favors straight-line punch, earlier turn-in planning, late apex exits, and nitro on long drains. Punishes mid-corner greed if tyres lag.
- GRIP — Favors rotation, tighter spark holds, technical stadium layouts, and forgiveness when packs bump under fair racing rules. Can feel slow on open highways if engine/turbo lag.
Neither is universally S-tier. The track schedule decides.
Tier key for setups
- S — Default pick for that archetype for most drivers at adequate upgrade levels.
- A — Strong alternate when your parts, crew, or personal style favor it.
- B — Only with a specific plan (ghost hunting, short qualifier, or extreme upgrade imbalance).
Track archetypes and rankings
Open highway / long-straight cups
- SPEED — S
- GRIP — B (A if tyres are far ahead of engine)
Play late apexes, charge drift sparks without over-slowing, and spend nitro after release into the straight. Slipstream trains make SPEED even stronger — practice pull-outs so you do not waste the tow. Weekly Time Trial ghosts on these tracks usually reward SPEED if you can keep the car planted.
Technical stadium / hairpin chains
- GRIP — S
- SPEED — B (A only with excellent foresight and strong tyres)
Shorten drift charges, prioritize rotation, and upgrade tyres before turbo vanity. Nitro windows shrink to brief exit pulses. Fair racing still sees contact in hairpins; GRIP helps you survive without spinning the boost meter into the wall.
Mixed rhythm tracks (medium straights + chicanes)
- SPEED — A
- GRIP — A
- Pick by your limiting factor: if you lose time on exits to highways, SPEED; if you wash wide in chicanes, GRIP.
Dual presets shine here. Save both, label them, and swap between Daily Cup heats without rebuilding from scratch.
Rally side series surfaces
- GRIP — S
- SPEED — B
Committed throttle and patience beat highway ego. Use Rally as a GRIP gym that also pays Cash for the main ladder (League Promotion).
GT side series
- SPEED — A
- GRIP — A
Closer to formula etiquette. Default to the same philosophy you will use in your next Junior Formula cup so muscle memory transfers.
Wet-feeling or low-traction featured events (when scheduled)
- GRIP — S
- SPEED — B
If an update playlist adds lower traction, do not force SPEED because a tier list screenshot said so last month. Check Updates.
Upgrade pairing matrix
| Setup | Needs first | Multiplies later |
|---|---|---|
| SPEED | Engine + enough tyres to plant | Turbo + nitro on exits |
| GRIP | Tyres + stable engine baseline | Nitro pulses + selective turbo |
A SPEED car with neglected tyres falls to B-tier results on any technical heat. A GRIP car with no engine never finishes overtakes on open cups. Detailed spend order lives in Upgrades.
Mode-specific notes
- Daily Cup — Swap freely; treat as setup lab.
- Weekly Time Trial — Commit to one philosophy per ghost hunt; changing mid-session muddies lessons.
- Server Showdowns — Prefer the S-tier pick for the archetype unless you are uniquely practiced in the alternate.
- Promotion blocks — Stability over spicy B-tier experiments. See League Promotion.
- World Ranking push — Consistency across a week beats a single SPEED miracle lap; read World Ranking.
Driver-skill modifiers
If your drift sparks are inconsistent, GRIP rises one effective tier until Controls drills catch up. If you already late-apex like a highway specialist, SPEED rises even on mixed tracks. Crew economy from Crew HQ can fund the missing tyre step that makes SPEED finally trustworthy.
Common setup mistakes
- Leaving SPEED on for every Rally-like layout.
- Building GRIP then wondering why you cannot pass on long straights.
- Changing setup and three upgrades at once before a Time Trial.
- Copying a Champion’s SPEED preset with Amateur-level tyres.
- Ignoring codes/Cash multipliers (Codes) then racing underpowered either way.
Session plan using this tier list
- Identify tonight’s archetype (open, technical, mixed, Rally, GT).
- Lock S-tier philosophy; note A-tier alternate.
- Open SPEED vs GRIP for a quick confirm.
- Buy at most one supporting upgrade.
- Race a warm-up, then Daily Cup or Showdown.
- Log whether you lost time to traction or to top speed — that note picks tomorrow’s setup.
Relationship to class tiers
Class tiers tell you which car to fund; setup tiers tell you how to point it. Shifter Kart on GRIP technical cups can out-progress a premature formula SPEED disaster. Keep both lists open during getting started graduates’ second week.
Kart To Formula rewards drivers who treat SPEED and GRIP as tools, not identities. Pick for the track, upgrade for the pick, and let fair racing decide the rest on merit.
Frequently Asked Questions
Quick answers for codes, setups, and league climbs.
When should I choose SPEED in Kart To Formula?
Default to SPEED on open, long-straight tracks if your tyres can still plant the car on exit. Pair with engine and timed nitro.
When should I choose GRIP?
Choose GRIP on technical stadiums, hairpin chains, Rally surfaces, and any week your drift control still feels inconsistent.
Can I keep both SPEED and GRIP presets?
Yes. Dual presets are ideal for mixed calendars and formula classes. Swap between heats instead of rebuilding each race.
Does this replace the SPEED vs GRIP tools page?
No. This tier list ranks archetypes; the tools page helps you decide per track. Use both with the upgrades guide.
What setup should I use for Weekly Time Trial?
Commit to the S-tier pick for that track's archetype and change only one variable at a time while comparing ghosts.